After a short lull in renovation progress at the tail end of last week, things picked up again considerably this week judging from this afternoon’s site visit to see what’s going on in our Minton home. The false ceilings for our living/dining hall, and bedrooms are at various stages of completion, new power sockets have been fitted, bases constructed for various kitchen and laundry appliances etc. From the looks of it, the ceiling works should all complete by midweek, after which painting (I think!) should begin thereafter, with fixing of light and fan fixtures starting next Monday.
Pictures as before.:)
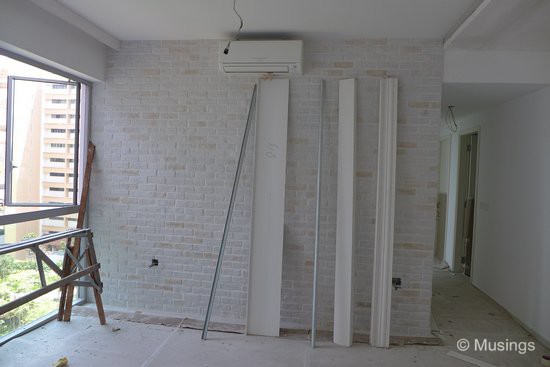
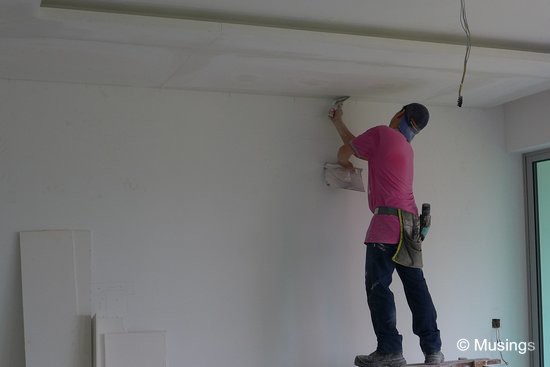
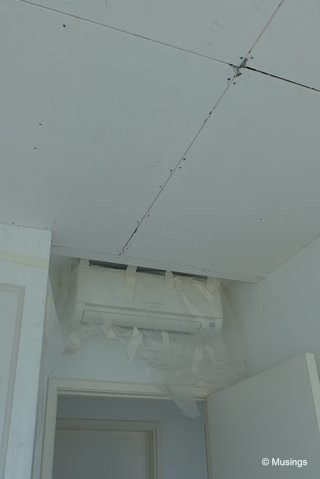
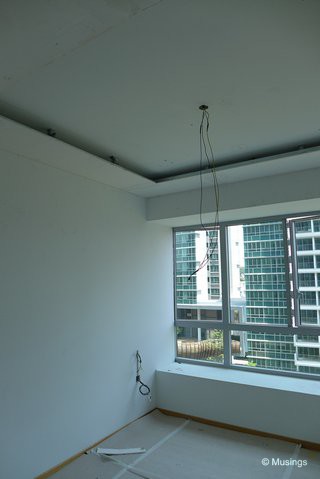
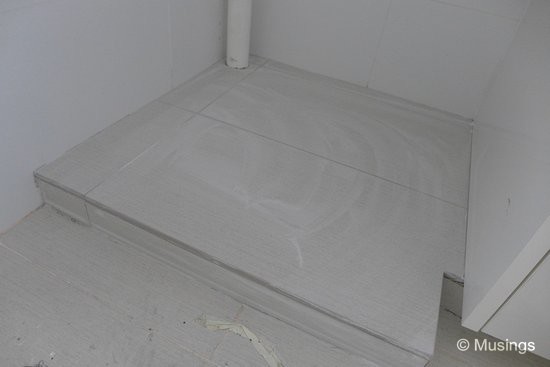
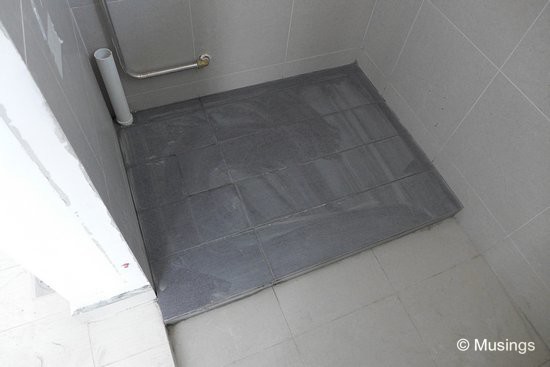
More ceiling boards resting against what looks like a completed craft brick wall. Wonder is this the final look for the feature wall, or it’ll get one more once-over with additional plaster.A worker who is wearing a reverse-cap means business! The ceiling boards’ surfaces are not perfectly smooth, so they are layered over to get them ready for painting.The false ceiling newly installed in our workroom. Yet to be leveled off though.Likewise for our Master Bedroom.Taking a closer look at the ceiling boards. They’re secured by steel brackets drilled into the concrete ceiling.The newly laid base for our dishwasher. Our designer was able to get tiles of the same type as our existing kitchen tiling, making for a pretty seamless integration with the floor.He wasn’t as successful with the yard toilet though. This base is for our washer and dryer stack. He checked with us on this, and suggested that rather than try to get close-looking tiles that would make it seem like we’re trying to hard, we might as well go with something different altogether.Closer look at the craft brick panels.The false ceiling and covelighting plan for the living/dinnig hall scribbled onto the wall. It’ll be painted over later.
Looking forward to seeing Ling’s choice of paint colors for our new home soon.:)
2 thoughts on “The Minton: Ideas and Renovation – 24 – Day 12”
It’s nice actually seeing pictures of other people doing drywall as opposed to me doing it myself. I’m especially impatient when it comes to the mudding.
While drywalling, I also tend to wear my ballcap backwards. However, that is only so I can freely bang my head into the wall in frustration.
Have I mentioned how much I dislike drywalling? :)
Haha.:)