Macro photography is hard and requires a lot of practice for one to be any good in it. I’ve over the years dabbled occasionally in it, including the one-stop flower macro photography spot in Singapore i.e. National Orchid Garden @ Botanic Gardens, over a variety of small sea critters during our Telunas Beach Resort stay, and also at the stunning Butterfly Garden @ Museum of Science in Boston. The half-way decent selection of pictures in those posts though are a result more from a couple of occasional hits from a sizable number of misses with cooperative subjects.
There are several ways of taking macro shots. Serious enthusiasts will typically invest in dedicated macro lenses. The Sigma 150mm f2.8 I owned for a couple of years for my Nikon system then cost a decent sum of money and was well-suited to flower photography but IIRC not for insects. I haven’t yet bought a similar dedicated lens for my m4/3 cameras now, though there are several such for the system at typically somewhat lower price points than say for the Nikon system. The Olympus 12-50mm kit lens that came with the E-M5 comes with macro ability though. Not a very good one by any measure, but it’s still useful when I have to take the odd close-up picture.
A second way of taking macro shots is to add extension tubes. These get attached to the camera mount and before the lens. Without glass and optical elements, tubes are simple in design, and essentially reduce the minimum focusing distance of a lens. Depending on supporting electronics in the tubes (e.g. to support aperture control and autofocusing), extension tubes for the m4/3 range from a very low price point of about $20, to branded Kenko tubes that cost about $160 and more. Finally, the third method is to add optical accessories to the front of the lens – e.g. close-up filters.
I was quite interested to get into macro photography again for the m4/3 system but loathed this time to spend money to buy a dedicated lens for it, though the excellent Olympus 60mm f2.8 Macro sure was tempting. The Kenko extension tubes were a real viable alternative and popular among many enthusiasts. Two disadvantages with this solution though: some of the clone copycats of Kenko tubes have, according to some Amazon reviews, damaged the electronic contact points on the camera body. I didn’t read of similar concerns for the Keno-manufactured tubes – they are apparently made to higher quality specifications and in Japan, compared to the cheap knock-offs which I think are made in China. Still, that got me worried. The other disadvantage lied in the very nature of using extension tubes: you have to dismount your lens, mount the tubes, then remount the lens. Not only is it tedious, any such swapping increases the possibility of foreign elements getting into the camera and landing on the sensor. Ugh, the horror.
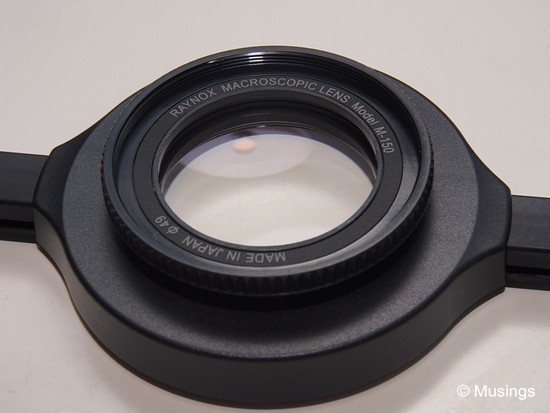
So, it was to the close-up type optical accessories. There’s a whole bunch of close-up filers/lenses sold at shady camera shops here that seriously degrade or distort the image information that hits the sensor, so I was quite wary about them. The Raynox macro conversion lenses though are a different breed. These are well-regarded, manufactured in Japan, and have been around for a while now and I’ve been keeping my eye on them for several years. There are two particularly popular models in the series. They cost a mere fraction of what one would pay for a dedicated macro lens, and is also cheaper than Kenko tubes. The series is carried in several stores, but I went with an online reseller of it that’s been carrying Raynox products for several years now.
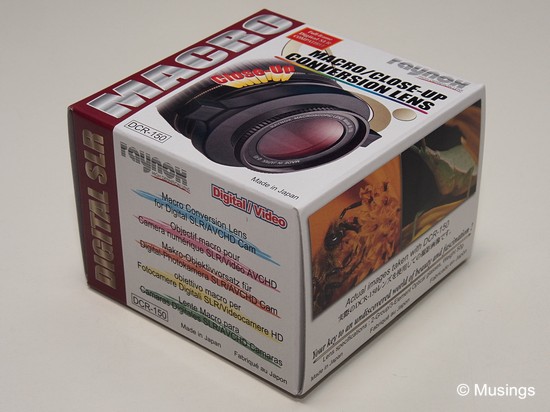
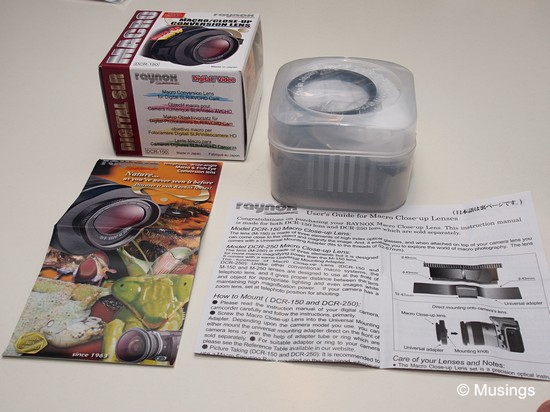
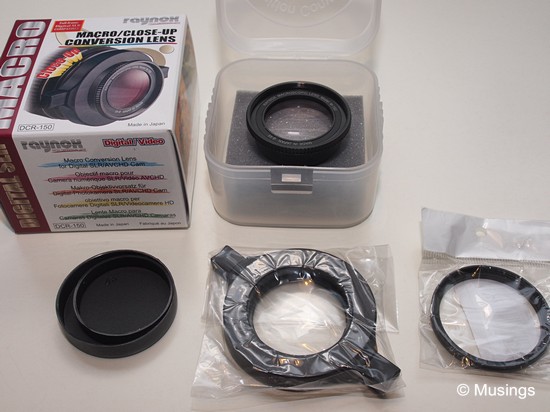
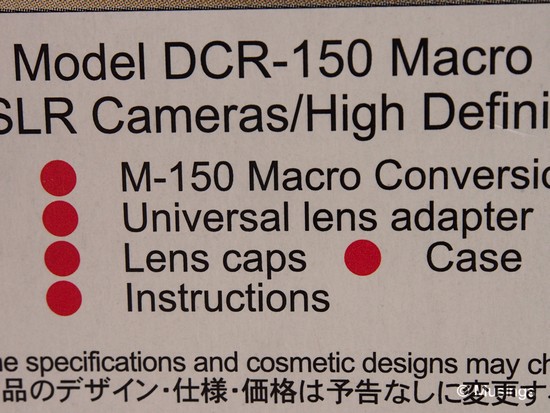
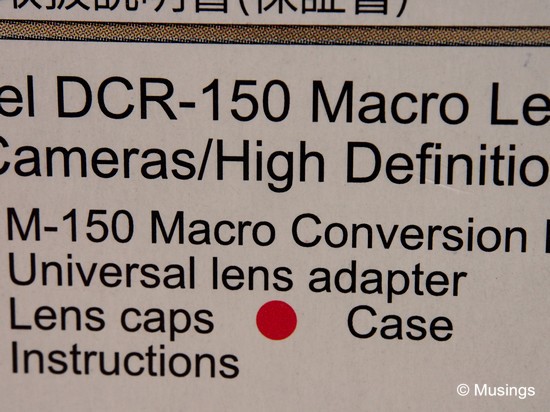
The Raynox DCR-150 is the model more suited for macro photography dabblers, and here’s the unboxing of the package, alongside some quick shots using the Olympus 12-50mm. I primarily intend for this conversion lens to work with the Olympus 45mm f1.8 (hope there’s minimal vignetting!), so will report on that once the cheapo step-up ring necessary to mount the DCR-150 onto a 37mm filter thread arrives from eBay.

More notes to come soon!
Recent comments