One critical event that takes place after key collection to our new home is defect identification, and depending on one’s disposition and optimism, it can be either or both an exhaustive, fun, or depressing exercise! Basically, once one has collected keys to your shiny new home and before you start your main renovation project, you’ll want to thoroughly check through all parts of your house and make sure it’s all in order first, before you start demolishing, hacking, re-doing, and building up the new place.
There was for certain a lot of discussion online over defects when the key collection exercise began. Some of the units from photos provided by our neighbors were disconcerting and downright scary. Interestingly, our unit was in a pretty decent shape as far as we could tell, and our defect inspection was aided too by both our shortlisted designers who helped us identify defects too when we had them over for measurements and visual explorations of concepts. In fact, the units in Blocks 10, judging from other residents who also posted up their defect inspection experience, seem to be in generally decent shape.
We were given two weeks to submit our defects list, and we took nearly all of that at 12 days. To be fair, we weren’t expecting mass market projects like these to be in absolutely pristine condition and showcasing top-of-the-line workmanship. We knew what we paid for. So, while we did identify and mark-out numerous areas for improvement, cleaning and the like, we were on the whole fairly happy with the state of our unit as ‘shipped’. Might indeed be finally an issue of managing expectations.
Alright; so here are our notes on defects.
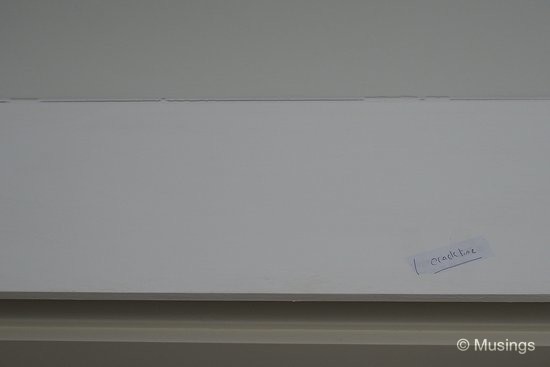
Defects on walls, tiles and straight edges and cracklines
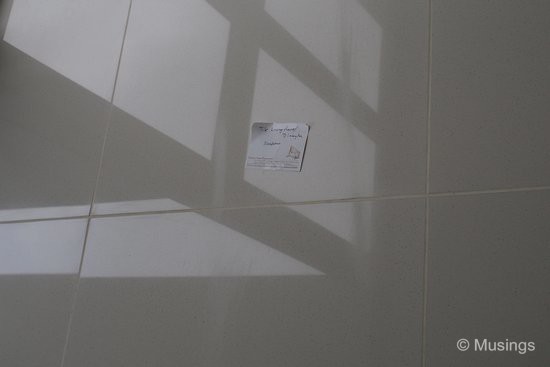
Our living/dining room homogenous tiles and parquet flooring in the four internal rooms were mostly alright, but we spotted visible and large scratches on a few homogeneous tiles, and several small paint spots and stains on some of the parquet flooring tiles. The scratches might require individual tile replacement (which in itself also presents other risks), but the paint stop and stains should be easy enough to clean off with the right cleaning agents.
The parquet floor tiles didn’t look as though they were suffering from hollowness nor depression either, thankfully. There were a few residents whose parquet flooring were in a poor state, but reading up about the rectification necessary was equally as disconcerting. Apparently it involves drilling and injection of compounds that will provide tile support, but will also leave an odd residue on the tile itself. Yikes.
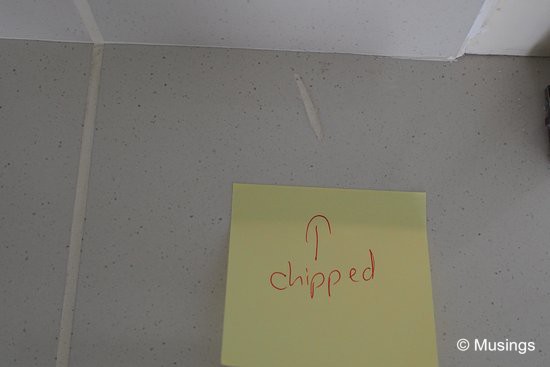
Of all the areas, the kitchen fared the worst. We spotted numerous chips at both the floor tiles, and also along the walls. It looked as though someone had been carelessly carrying heavy equipment around the kitchen and bumping into the walls.
Stains and Dents
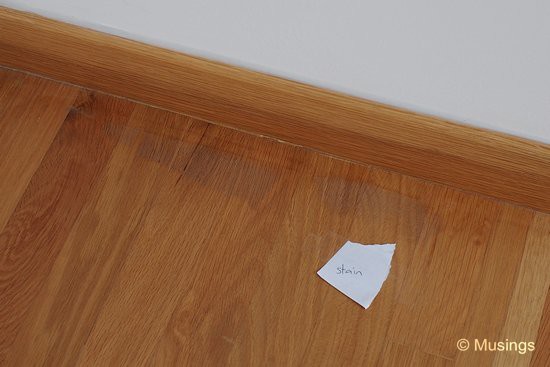
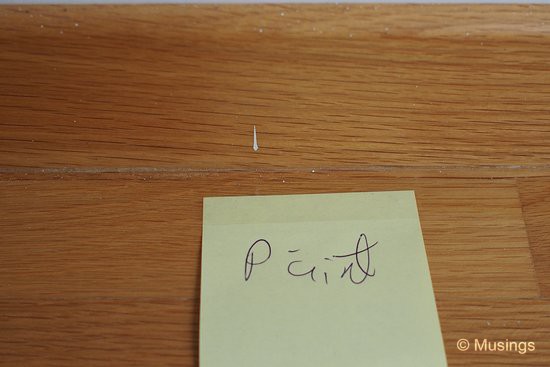
Perhaps because Blocks 10 were completed ahead of the other blocks at The Minton, the guard railings at our balconies had already suffered from some weather damage. There were stains at several spots, and also what look like the start of rusting. That were marked out for the rectification team to sort out.
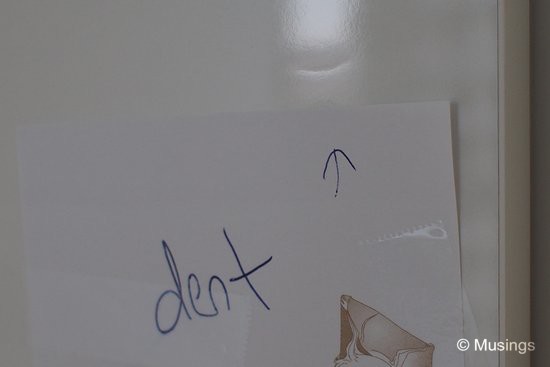
We also noted a few dents on our wardrobe doors. Not massive and easy to miss – you can only spot them if you looked at the wardrobe door head-on in good light.
Several of our door handles were also stained, but should be easy to clean. Looks like the fellow who worked on the handles had oily hands.
Ponding!
We’ve got large planter boxes. So big in fact that a friend who saw our Facebook pictures of our unit asked “What is that moat thing you’ve got around the balcony?” LOL. All the planter boxes have their own drainage, and the box base is supposedly leveled to ensure that water eventually flows to the outlets. This is something we scrupulously checked for, as the last thing we want is for the boxes to hold stagnant water later and become breeding grounds for mosquitoes.
Gaps and Misalignments
All our wardrobe and cabinets come with soft-hinged doors. But a couple of those doors were also slightly out of alignment, which meant that they wouldn’t fully shut on their own. Should be a simple enough thing to rectify; the doors just need to be dismounted then re-mounted properly again.
More seriously though was this:
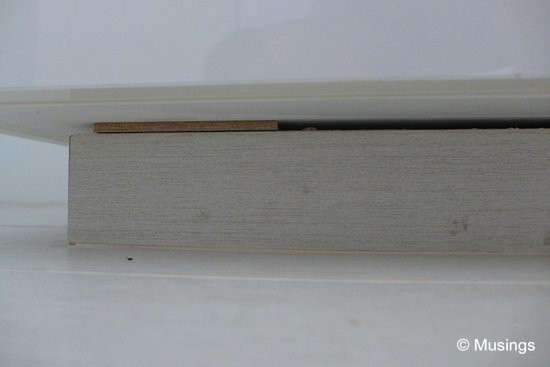
This is an about 0.5 cm gap where the base of the kitchen countertop cabinets are. Apparently, kitchen flooring is done at a slight incline to allow for water to flow in the direction of where the outlet is, but this in turn affects the leveling of the cabinets base. A quick and easy way to solve this is to simply use a piece of wood as a wedge to ensure that the base level is fully horizontal. Unfortunately, as Ling explains it – it also causes problems when the floor is washed, and water gets into the gap, providing fertile ground for cockroaches to breed.
All this said – defect identification is just the first step. The next one is even more important; actual rectification of the identified flaws. Post to come soon.=)
Recent comments