It all started with my mother in-law’s 70th birthday last year. I wanted to give her something meaningful. I find gifting older folks rather challenging as they usually desire very little from the material world. So after scratching my head for ideas, I settled on stitching up a photograph after chancing upon an online cross-stitch company that can convert photographs into cross-stitch artwork.
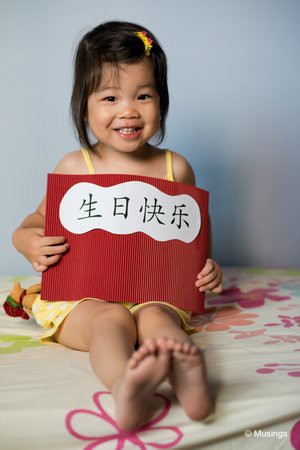
We didn’t take many photographs with our MIL as a family and so I tried to search for photographs of Hannah with her ‘nai nai’ instead. One photograph stood out from the rest where my MIL was helping Hannah in a colouring activity. However, the background was too complicated (that means the stitching would kill me). Eventually, I decided that I needed to take a photograph with a plain background. As our ang mo friend Matt was staying with us at that time, I asked for his help to take some orchestrated poses of Hannah holding a card that read a birthday greeting in Chinese. I couldn’t wait for Yang to return home from work to get the job done then. Matt did great. Thanks, Matt! :)
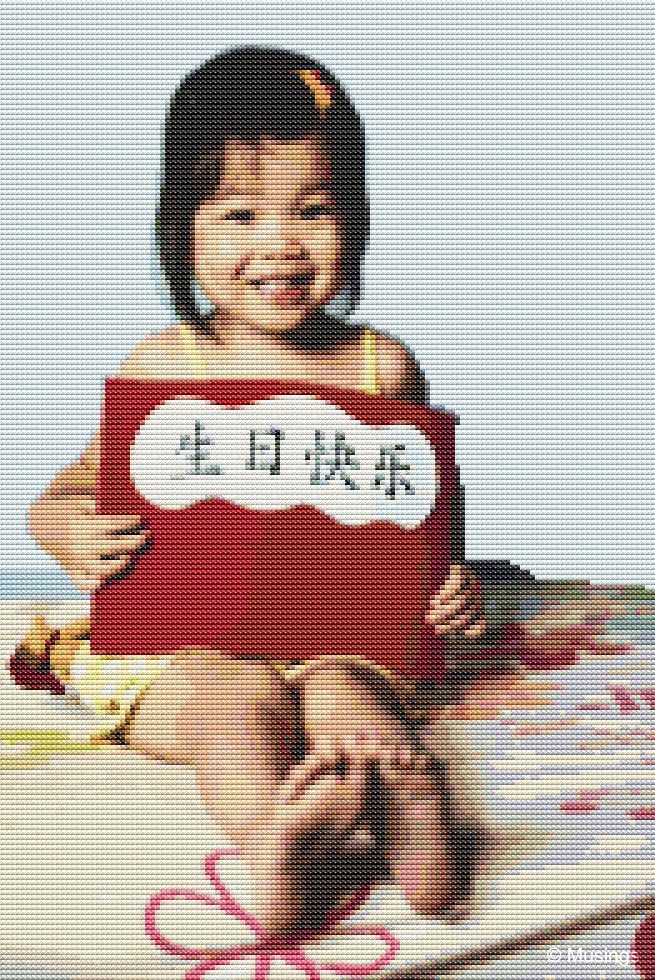
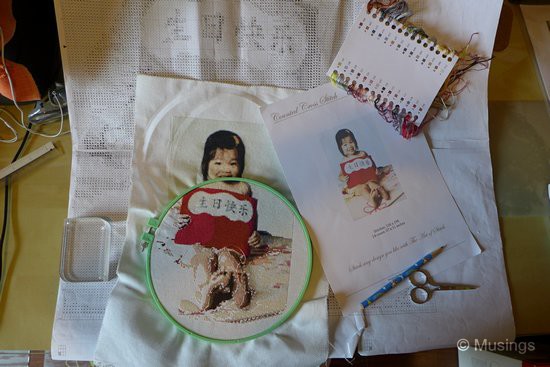
The contact person from the cross-stitch company was very prompt in communication and my cross-stitch kit arrived in a matter of days. And so the stitching begins. But soon a huge realisation dawned upon me…
…that I couldn’t finish the cross-stitch in a month’s time for my MIL’s birthday. I made do with giving her a photo frame with 3 photos of Hannah holding the card but with slightly different expressions. Oh well.
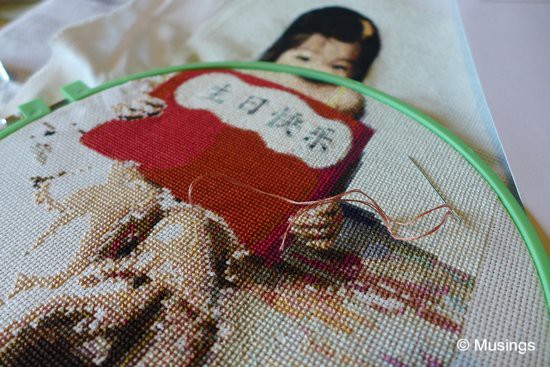
The long journey of trying to finish the cross-stitch began, with no end in sight. Let me put it this way, even with a plain background, the stitching was very tedious. Because it was a photo, a tiny mistake can be conspicuous and ruin the whole artwork. The counting of squares, the colour of threads, the pressure applied in stitching, etc, must be perfect.
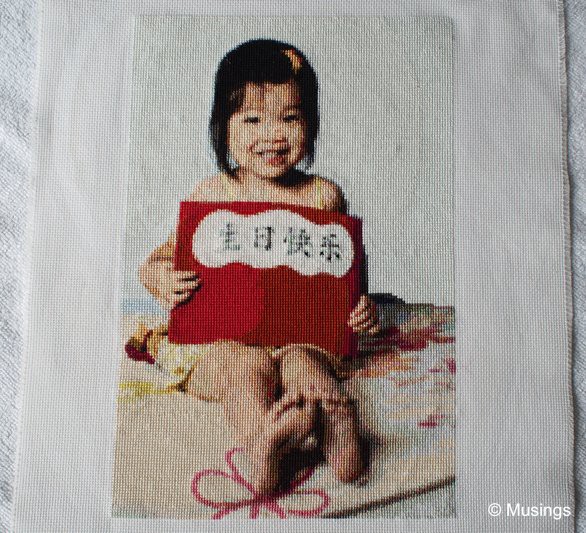
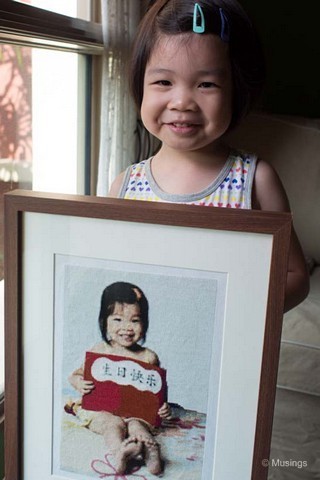
It took me 16 months from start to finish. The project was interrupted by work (as usual), tiredness from pregnancy, time spent with Hannah, and then birth of Peter. We just presented the actual gift to my MIL last week. Finally! :D And Yang was suggesting that perhaps I could start another cross-stitch project. No, thanks! I need a break. Besides, I want to make quilts and dresses for Hannah with my new sewing machine. I’m also looking forward to cooking and baking regularly again. On top of it all, I also need to look into renovating and moving into our new house.
Was it a waste of precious time making this gift which would just sit on a piano, a chest of drawers or hang on a wall? Well, part of me knows that I could have spent the time with my family. But I did have an epiphany one night when I was stitching alone while the kids and hubby were all asleep…like certain odd coloured threads that didn’t seemed to go into the correct squares initially, there are times in my life that didn’t make sense at all. Till I see the whole picture, I just have to trust and follow the instructions – just like God who has a grand design for my life and sometimes things seem to go wrong. Let me learn to simply trust Him and move on. (I know, so cliché right?)
It’s a great masterpiece ! Admire your patience and perseverance :-) btw I am also staying in Minton , thanks for all the great pics .
nice work! I’m sure it’s worth all the effort! :)
Thank you for the compliments, Huihui & Wendi. :)
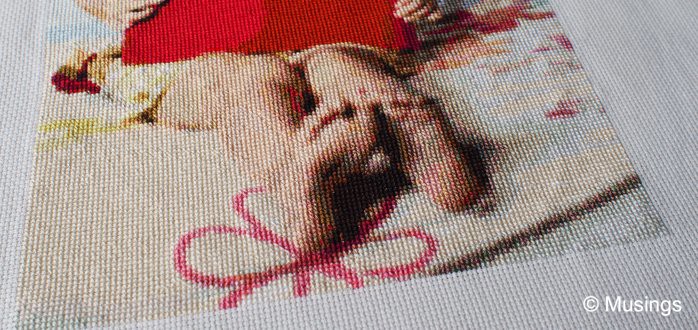
Good grief, what a lot of work! I, too, admire your perseverance. I suspect using those particular bed sheets instead of solid-colored ones added a bit of time to the project, too.
Indeed, Matt. But I like the patterns on the bed sheet more :-) A killer project!