There are several key differences between domestic guinea pigs and hamsters as pets: one is their obvious difference in sizes – both of our two cavies are just two months old and already several times larger and heavier than Stacy, who is herself an adult hamster. Another is their social behavior: Syrian hamsters are solitary by nature, and do not need or desire enclosure partners. Thirdly: hamsters are escape artists, while cavies are not. This latter behavioral difference was instrumental in my deciding whether to build my own enclosure or buy a large one off the shelf. And I decided for the former since I didn’t have to worry about the critters gnawing, jumping, squeezing through or climbing their way to freedoms in a custom-built enclosure!
There is quite a bit of information on custom built enclosures for cavies, and one popular design type is known as C&C, which stands for Cubes & Coroplast. The basic idea is to get prefabricated wire meshes to form the basic cage frame, and coroplast boards for surfaces. The coroplast boards are easily available at stationery shops like Popular Bookstore. As for wire meshes, quite a few cavy owners have gone with professional metal workers – like this company for instance – who custom make metal shelving, and also animal cages. The other and very popular option is to get them from Daiso.
The Daiso wire meshes come in varying sizes – which is very helpful for me to not just implement the design but also expand the enclosure later. Not all Daiso stores carry the meshes though, and it took four trips to different Daiso stores before I acquired enough meshes to not only build a first cage, but also a larger playpen area that I’ll bring over to our parents’ place on weekends for the cavies to roam about in the garden.
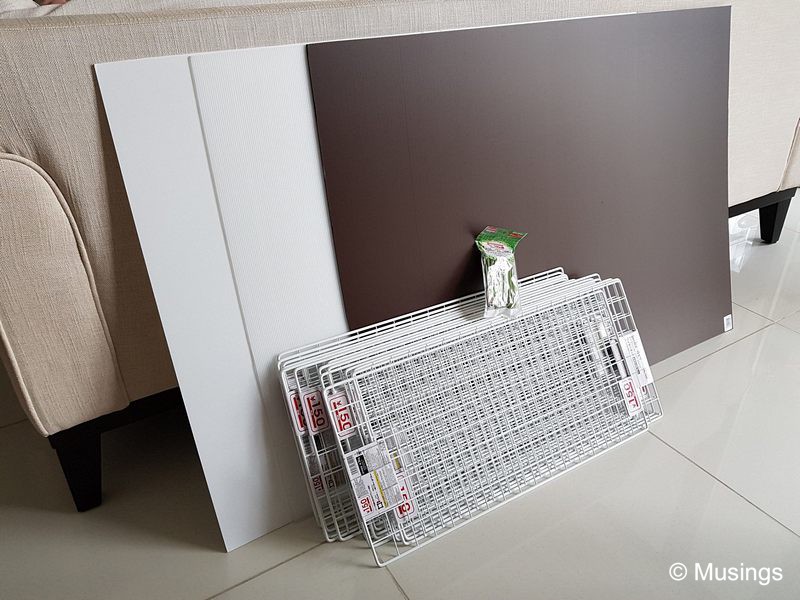
Materials and tools for our 1.5 level 2×3 feet enclosure
10 wire meshes (of 30x60cm size) @ Daiso ($20)
Animal pee pads (two 60x90cm for the base level, and four 30x45cm for the loft level) @ Daiso ($12)
A pack of cable ties @ Daiso ($2)
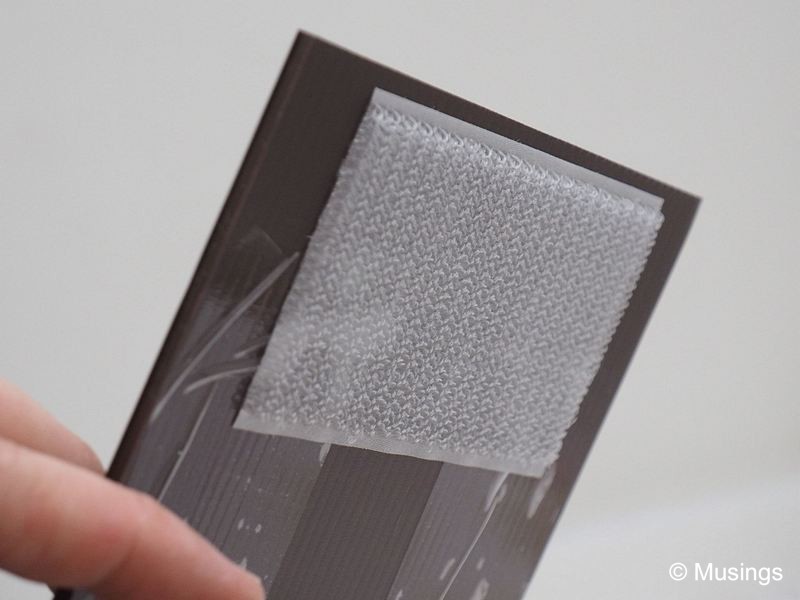
A pack of velcro strips @ Daiso ($2)
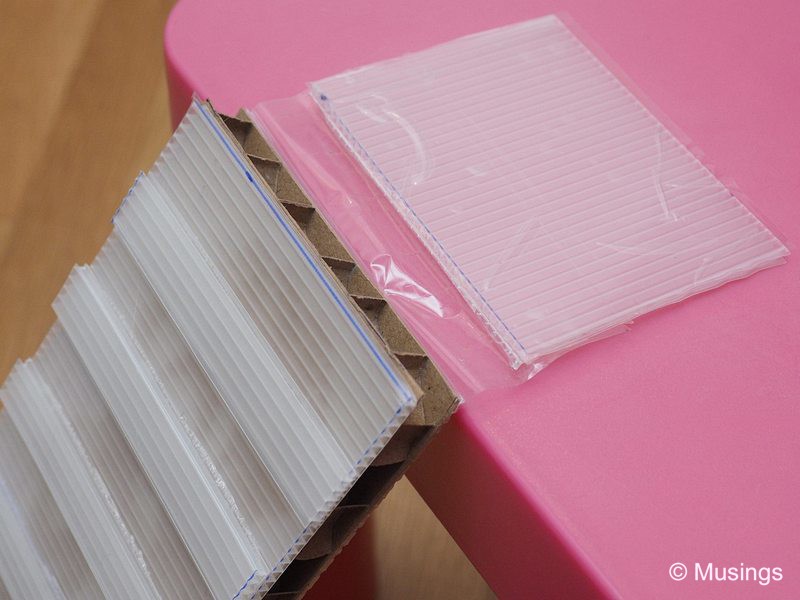
3 Coroplast boards @ Art Friend/Plaza Singapura ($5.90 each)
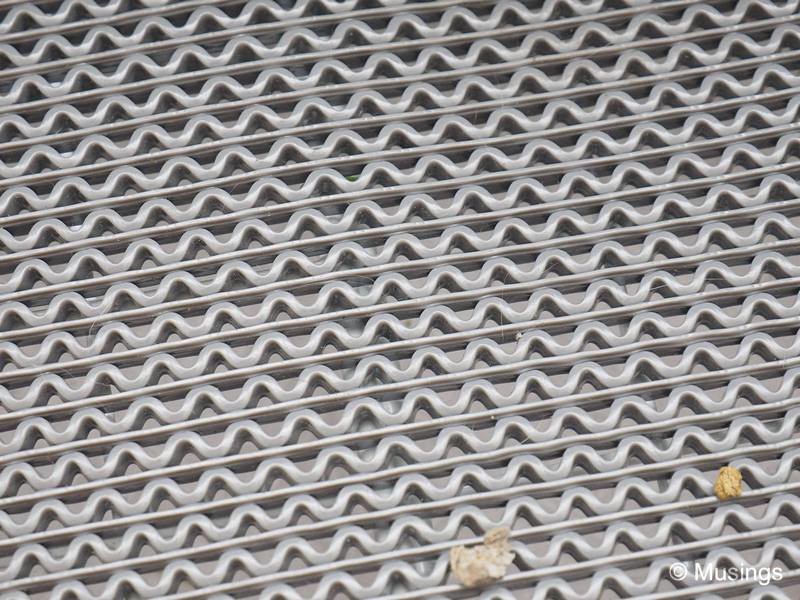
2 3M Anti-Slip mats @ Self-Fix Store (45x60cm and 60x90cm of about $35 and $78)
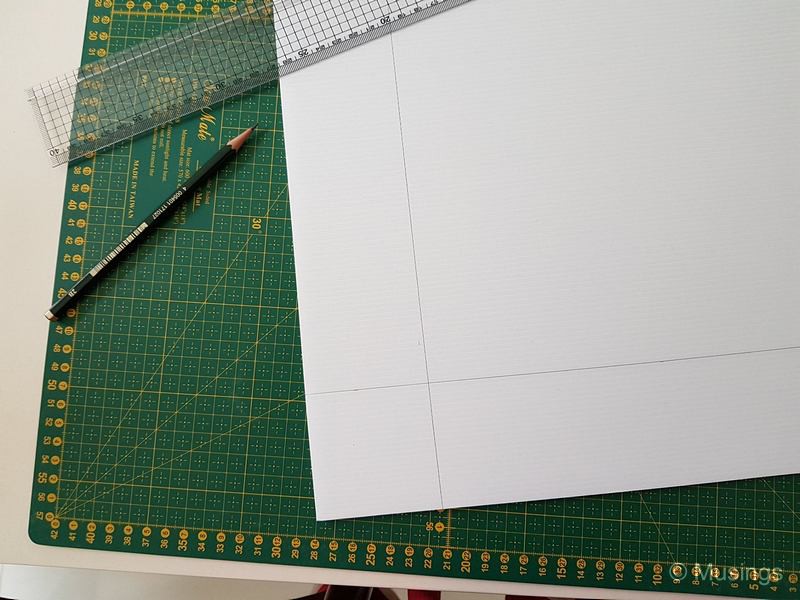
Glue, tape, sharp pen knife, cutting board, etc.
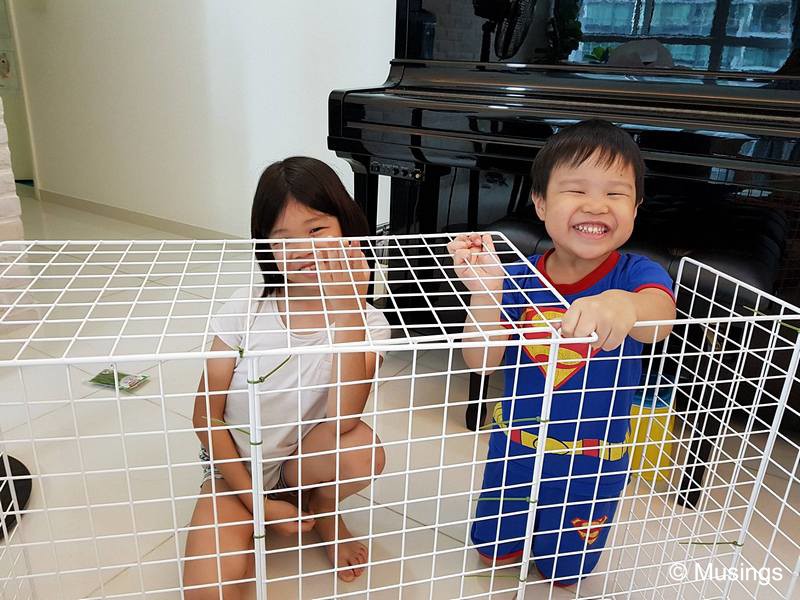
And about 5 hours of labor spread across two days later: here’s the finished product.

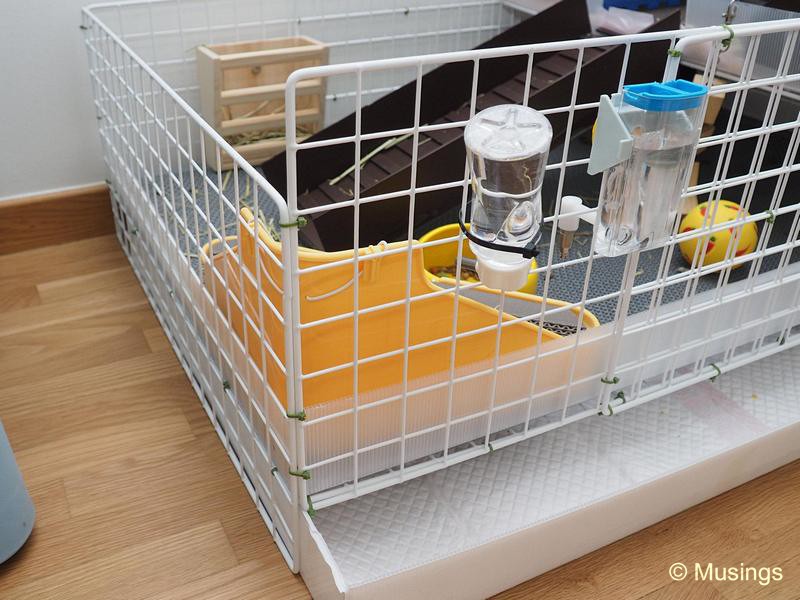
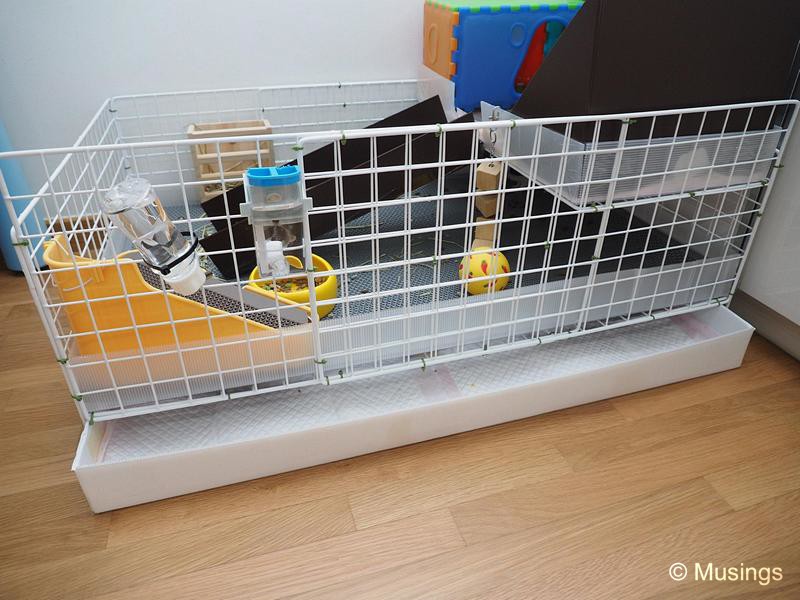
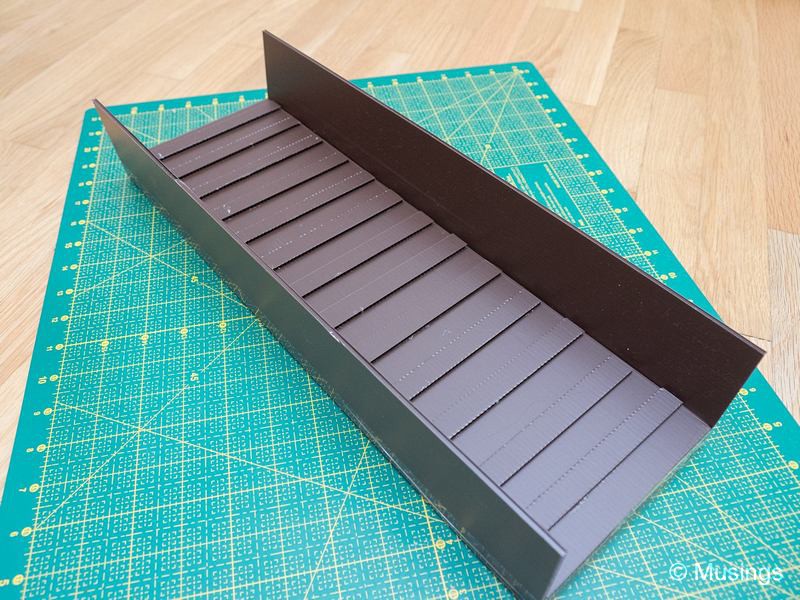
Pet Lovers Centre @ Suntec City sells a pre-made wooden bridge specifically for enclosures, but the weight of it would had put too much stress on the loft’s wire mesh. So I made my own. Constructing this set of stairs connecting the first and loft level by far was more challenging, relatively that is since the entire enclosure really wasn’t that tough to build from scratch to begin with!

The total damage involved in building this enclosure was about $167. About what I’d paid if I’d bought a pre-made cage from the store, but my custom-made one is expandable, materials can be recycled, and way more fun to build them yourself! :)
Hi! Finally found someone who has used the 3M mat, I’ve considered this too :) how was it for the cavies? Did they have any foot issues with prolonged use of this semi hard flooring? Thanks! Well done 👍
Hey there; thanks for visiting our blog. Our cavies were OK with the 3M mat. The material was rubbery for them to step on, unlike grill-like bases which would be less comfy. We didn’t stay long with the mat though, as keeping it clean was just too much work. We switched to large pee pads instead and have gone with that for more than 2 years now.